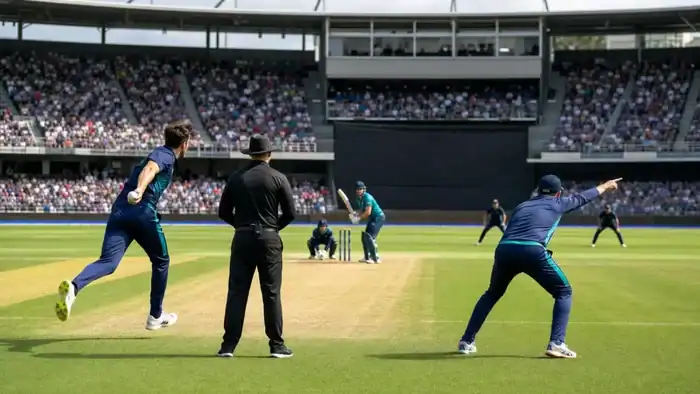
Knowing how many fielders may stand outside the circle is only the first part of ODI powerplay cricket. The tactical question is how a batting or bowling side should use the space that remains.
This article is a strategy companion to our ODI powerplay rules guide. Always confirm the current competition regulations through the ICC playing conditions, because domestic competitions may use different provisions.
Overs 1-10: Attack Without Losing Shape
With only a small number of fielders permitted outside the circle under standard ODI conditions, captains must protect the highest-risk boundary without giving away simple singles everywhere else.
Bowling Plan with a Swinging New Ball
- Use slips while the edge remains a realistic dismissal.
- Keep cover and mid-off connected to the outside-off-stump line.
- Protect fine leg if the bowler’s natural angle brings the pads into play.
- Do not keep catchers merely because it is “the powerplay”; remove them when the evidence changes.
Batting Plan
Boundary opportunities are valuable, but the best opening partnerships also rotate strike. A batter who only attacks can become predictable. Look for firm pushes into the ring, controlled use of pace and boundaries from balls in the scoring zone.
Overs 11-40: Control the Middle
The middle phase is often decided by dot-ball pressure and wicket-taking options. Captains can place more protection outside, but spreading the field too early may allow one risk-free single every delivery.
Against Spin
Use one boundary rider for the batter’s strongest shot, then keep an inner-ring fielder in the path of the easy single. A close catcher can remain valuable when the pitch offers turn or the batter is new.
Against Pace
Vary the field with the length. A hard length may need square protection; a fuller plan needs straight and cover support. If a bowler cannot execute the planned delivery, change either the field or the delivery—not just one.
Overs 41-50: Defend a Delivery, Not Every Boundary
Death-over fields work when they match the bowler’s strongest option. A wide-yorker plan and a straight-yorker plan require different protection.
| Delivery plan | Likely miss-hit | Fielding priority |
|---|---|---|
| Wide yorker | Slice or reach to off side | Deep cover/point region and third-player awareness |
| Straight yorker | Inside edge or straight hit | Fine leg, long-on and long-off according to batter |
| Hard length | Pull, flat-bat or top edge | Square and straight boundary options based on pace |
| Slower ball into pitch | Early swing and mis-hit | Long boundary and best catching fielders |
Use Boundary Dimensions
A field diagram is incomplete without the ground. If one square boundary is substantially longer, a captain may ask the bowler to make the batter hit toward it. Wind, pitch pace and the quality of individual fielders also matter.
A Practical Planning Exercise
- Choose one right-handed and one left-handed batter profile.
- Write the bowler’s best two deliveries.
- Draw a legal field for overs 1-10, 11-40 and 41-50.
- Mark the single you are willing to concede.
- Mark the boundary you are trying hardest to prevent.
- Explain the dismissal method the field supports.
If the plan cannot be explained in one or two sentences, it may be too complicated for a pressured match situation.
Keep Rules and Tactics Separate
Rules determine what is legal. Tactics determine what is sensible. Check the latest official playing conditions before publishing or applying exact field-restriction numbers, then adapt the field to the match in front of you.

Leave a Reply