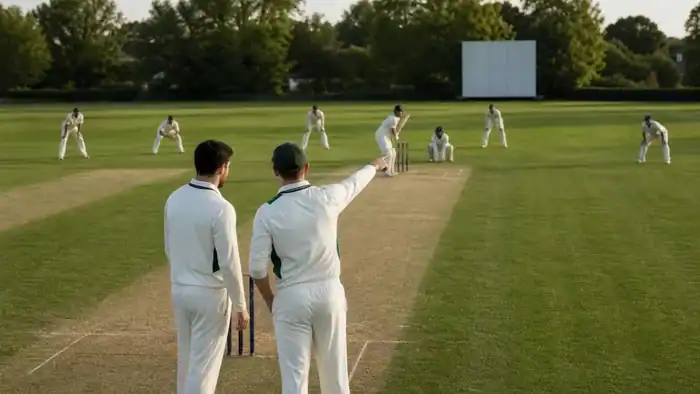
A field should not begin with a diagram. It should begin with one question: How are we trying to dismiss this batter? Once the captain and bowler agree on the plan, the positions become easier to choose.
Use our cricket fielding position map if any position below is unfamiliar. Remember that competition playing conditions may restrict how many fielders can stand outside the fielding circle.
Four Decisions Before Moving a Fielder
- What line and length will the bowler attempt?
- Which shot is the batter most likely to play?
- Are we attacking for a wicket or protecting runs?
- How do the pitch, wind and boundary sizes change?
Scenario 1: New Ball Against a Right-handed Batter
Plan: bowl a fourth-stump line and make the batter decide whether to play.
Useful field: two or three slips, gully, point, cover, mid-off, mid-on, fine leg and a leg-side catcher or boundary rider depending on the format.
Captain’s check: if the bowler repeatedly drifts onto the pads, three slips do not repair the plan. Adjust the line or protect the scoring area.
Scenario 2: Defending a Small Total with Pace
A passive ring can allow comfortable singles. Keep catchers where a genuine edge or mistimed drive may go, then protect the batter’s strongest release shot. The field must create pressure with the ball; it cannot manufacture pressure alone.
Scenario 3: Batter Driving on the Up
Ask the bowler to hit a fuller length without becoming a half-volley. A catching cover or short extra cover may be more valuable than another deep fielder. Keep mid-off interested and close enough to stop the easy single when conditions allow.
Scenario 4: Short-ball Plan
Use the short ball as a planned variation, not a hopeful surprise. Positions such as fine leg, long leg, deep square leg or a leg-side catcher depend on pace, bounce and the batter’s control. Follow the competition’s short-pitched-bowling and fielding restrictions.
Scenario 5: Off-spinner to a Right-hander
Dismissal options: bat-pad, inside edge, mis-hit against the turn or a stumping when the batter advances.
A close catcher, slip, short midwicket, cover and straight fielders can support an attacking plan. If the bowler is too short, the batter can cut or pull and the attacking field becomes expensive.
Scenario 6: Leg-spinner Protecting a Boundary
Do not automatically place every fielder on the rope. Protect the most likely boundary while keeping enough fielders inside to prevent easy singles. A batter who cannot rotate strike may take a risk against the next ball.
Scenario 7: Final Over of a Limited-overs Innings
Start with the bowler’s best delivery. For a wide-yorker plan, protect the off-side boundary and make the bowler commit to the line. For a straight-yorker plan, protect straight and leg-side miss-hits. Move after observing the batter, but avoid changing the plan every ball without evidence.
Scenario 8: New Batter Under Pressure
A new batter often wants a low-risk single. Bring one or two ring fielders closer, communicate loudly and keep the best throwers in high-involvement positions. The objective is to make the batter earn the first comfortable run.
A Captain’s Ball-by-ball Worksheet
| Ball | Bowling Plan | Expected Shot | Actual Result | Adjustment |
|---|---|---|---|---|
| 1 | ||||
| 2 | ||||
| 3 | ||||
| 4 | ||||
| 5 | ||||
| 6 |
Three Field-setting Mistakes
- Copying television fields: professional pace, boundary size and player skill may not match your game.
- Ignoring the bowler: a field for outswing is wasted if the bowler cannot hold the line.
- Moving after every boundary: judge whether the shot defeated the plan or was simply well played.
The best field is not the most creative arrangement. It is the field that matches a repeatable delivery, responds to the batter’s evidence and can be understood by all eleven players.

Leave a Reply