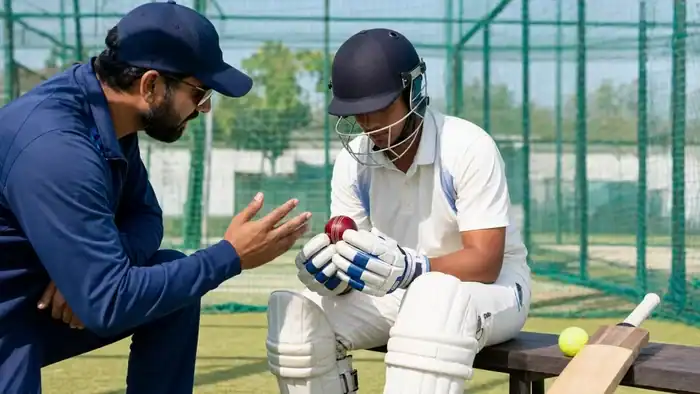
A leather cricket ball changes more than the weight of the ball. It can bounce differently, retain a harder seam, travel faster from the bat and punish unsafe technique. The transition should therefore be gradual and supervised.
Start by understanding the difference between tennis-ball and leather-ball cricket. This plan is general guidance; a qualified coach should adapt it for the player’s age and experience.
Stage 1: equipment and environment
Do not begin with a full-speed net. Check that the helmet meets the appropriate standard and fits correctly. Batters may also need pads, gloves, an abdominal protector, suitable footwear and additional protection based on age and role. Wicketkeepers need role-specific equipment.
Use a maintained net with enough run-off space. A responsible coach or experienced adult should control the session.
Stage 2: learn the ball in the hands
Begin with stationary handling and gentle underarm work:
- two-hand catches from short distance
- ground-ball pickups
- underarm returns
- ball seam-grip awareness
The goal is to remove surprise. Do not use hard overhead catches as the first leather-ball exercise.
Stage 3: controlled batting feeds
Use gentle underarm or short-distance feeds with full protective equipment. Practise leaving, defending and calling rather than trying to hit boundaries. The batter should learn that not every ball needs a shot.
Confidence rule
If the player turns away, closes the eyes or loses the setup repeatedly, reduce speed. Fear is information. Increasing pace usually makes the habit worse.
Stage 4: reduced-pace bowling
Face a trusted bowler operating well below full speed. Agree on the line and length in advance. Start with sets of six and pause for feedback.
A useful sequence is:
- six straight full-length balls
- six good-length balls outside off stump
- six mixed but controlled deliveries
Stage 5: catching progression
| Level | Drill | Progress when |
|---|---|---|
| 1 | Short underarm catches | Hands stay relaxed and eyes follow the ball |
| 2 | Gentle flat catches | Body moves into line |
| 3 | Controlled high catches | Player judges height without turning away |
| 4 | Match-like feeds | Technique remains safe under movement |
Stage 6: match-intent net
Only after the earlier stages are comfortable should pace and uncertainty increase. Use short spells. Bowlers should not suddenly add unannounced bouncers or dangerous pace to “test” a beginner.
Changes bowlers will notice
The raised seam creates opportunities for seam and swing bowling, but the ball also requires control and care. Learn a conventional grip, keep the ball in good condition and avoid unsafe experiments. A coach should check the bowling action.
Changes batters will notice
- less time against genuine pace
- a louder and sharper contact
- greater consequence from mistimed defensive shots
- more movement from seam and swing
Good balance and watching the release become more important than hitting power.
Four warning signs to slow down
- the player repeatedly turns the head away
- protective equipment moves or does not fit
- pain develops during bowling, throwing or batting
- the session becomes a test of courage rather than learning
A realistic first goal
The first leather-ball session does not need to produce a fifty or a fast spell. A successful session may be 24 balanced defensive shots, 20 clean catches and two controlled overs. Confidence built through safe repetition lasts longer than confidence borrowed from one lucky shot.

Leave a Reply